Sunday, August 21, 2011

Remembering Summer


Embossed Metal Technique(middle) and UTEE (right)

Way back in May my husband and I took a river cruise down the Rhine from The Netherlands to Switzerland.  We went from Amsterdam to Zurich and, yes, I ‘m doing an album and, yes, the title IS “The Rhine, from A to Z”. I couldn’t resist!

 Anyway, albums aren’t the only way I like to showcase memories.  I’m doing more and more display piece.  Lot’s of reasons why. They hang on the wall or lean on a shelf and one can see them as they walk past. They’re faster to put together (theoretically anyway). You don’t have to open them to look at them. And finally, they hold more than just pictures, as you can see by the one I just finished for my September Class at Paper Niche. 

beeswax technique
7 Gypsies Paper Tape on the edge


When I designed this class, I wanted it to be about creativity, individuality and learning new techniques.  So this class will be very loosely structured. We’ll explore using beeswax, incorporating UltraThick Embossing Powder (UTEE) and ways to emboss metal to bring that look to the piece also.  Students will be encouraged to bring photos and ephemera to class to incorporate into the piece as it’s assembled. Can’t wait to see the results!

 Look for it soon on Paper Niche’s Blog, I’d love to see you in class!


Tuesday, August 9, 2011

7 Gypsies Goodies

September Class Raw Materials
This week I’m working on my September class for Paper Niche.   The base is going to be a 7 Gypsies Shadowbox Letterpress Tray and I’ll be using lots of their products too.  Theme will be travel but it can easily be turned into one for Family photos.  Got half way through it and my Mojo left.  Just flew out the chimney.  I’ve learned that when that happens, it’s best to put it aside until Mr. Mojo returns, so that’s what I did!


In the mean time I started on a new item for my ETSY store and one I plan on taking with me to Art Shows this fall.  It’s a Gatefold Chipboard Album that I’m putting together and the theme is Florida State University.  Lots of Gold, Garnet and black. Really Yummy!  You’ll get photos of the finished project but I thought I’d show you what I started out with for the September Paper Niche class.

Don’t forget that I’m teaching the Liberty Album at Paper Niche this Saturday.  Still some spaces left if you’d like to join us. 

Tuesday, August 2, 2011

Family Photo Tray


I love Bo Bunny’s Timepiece Collection; it lends itself to so many creative ideas.  I’ve been making Photo Trays for universities for a while now and they’ve been very popular.  I’ve used the Collection for DREAM wall hangings and had some leftover paper, so I decided to see what it would look like as a wall hanging.

 I LOVE it!  Has a ball figuring out what to add to it and am really pleased with the result.  I used a vintage key that I brought back from London last year, an antique folding ruler that I took apart, some grungeboard to create gears, one of 7 Gypsies ocular lenses that I altered with a watch face rub on, and a memory frame with a memory capsule that houses some of Tim Holt’s Gears.

 A Tim Holtz Memo Pin suspends the memory frame.  I snipped off the pointed end and rolled it around jewelers pliers to create a hook.  I drilled a hole in the frame and looped it through.  It’s suspended with glossy accents. 
It’s finished off with a Tray Label Holder from 7 Gypsies.  The “Family” label was easy: typed and printed on the computer, misted with Perfect Pearls Heirloom Gold and tucked into the Holder.  Liked it so much that I created a few of them.  Listed one on my ETSY site and it sold in about a week.  So I just listed another one.  I'm on a roll!

Tuesday, July 26, 2011

DREAM Wall Art


I’ve taught this class at Paper Niche and loved the result of using Bo Bunny’s Timepiece Collection. The colors in the collection are great for altered art and home décor pieces. There are lots of papers to choose from that work well in the piece: here I’ve shown you three variations.


 They’re constructed so that they hang on a wall or can be left free standing on a table or nestled in a bookshelf. Although they are a little time consuming to make, they're worth it for the impact they can provide.  
The letters are 8" tall. I start by painting the sides and back in a complimentary color, this time in an antique gold.  Then the fronts are covered in scrapbook paper (a 12 x 12" sheet) with a decoupage medium.  I use bookbinders glue but Modpodge works too. I then cut around all the letters to remove most of the excess paper.  The rest is removed with a rough grit nail file. I ink the edges of the letters, then seal each with the bookbinding glue for durability.  They're then screwed together and the hanging hardware is added.  If I'm going to add a drawer knob, it's done at this point.  Where do I get my drawer pulls?  EVERYWHERE! I scour flee markets, take them off discarded furniture, bring them back from London (couldn't believe we ran into a shop that sold nothing but door and drawer hardware, both new and used) and buy them at my favorite source, Anthropologie!
After the drawer pull is added, I go to my stash and  look for objects that fit the theme. For this series the theme was "time" so I went with gears, watch faces and watch parts. I try to incorporate both hard and soft items so there's a balance.  In these, I added some rose ribbon in brown and some hand died seam binding that holds the watch charm on. I created this series for my ETSY Shop and plan to take them with me to the Fall Art Shows if they don’t sell first! Enjoy!

Sunday, July 24, 2011

YIKES!


I try hard to blog here at least once a week. Sometimes I have no excuse for missing my self-imposed deadline. This time I have a VERY good excuse.  My daughter’s getting married!  She and the Groom want a February wedding.  Not February 2013, but 2012, like in 7 months – YIKES!  My daughter is employed as an administrator in a local school district, so she goes back to school on Monday!  Yikes, again!

So in the last 14 days we (collectively) have:
* Chosen a date
* Secured a venue and put a deposit on it
* Moved money around to pay for everything
* Shopped, selected and paid for a wedding gown
* Picked out a color scheme
* Selected a manufacturer for bridesmaid dresses
* Created a guest list
* Shopped for, designed and created “Saved the Date” cards and Wedding Invitations
* Met the grooms parents
* Booked a block of rooms for out of town guests

Oh, that’s right, this is a destination wedding (Key Largo, Florida) everyone (including us!) will be from out of town. Thanks Casey and Frank, I now have LOTS to do in the next 7 months.  Figured you needed a sneak peak, and I promise you this will be the last of this until after the event.  Here are some peaks at the dresses that didn’t make the cut . . .
A real close contender

See the look on her face, it's a $4000 Vera Wang dress.  Beautiful, but not in the budget!


I think the worst of it is over, wishful thinking I guess. I’m going on-line to see what I can from the recent CHA convention!

Friday, July 8, 2011

Graduation Cards - a small tutorial


I used Colorbox Gold ink to stamp the image and then heat embossed it with Sparkle N Sprinkle "Agatha" embossing powder. It’s one of my favorites because it’s black with gold glitter in it. Framed the image with gold paper and then raised it on a layer of black chipboard. Mounted all of that on black cardstock.  Created some custom ribbon by spraying white seam binding with Perfect Pearls Mist in Sunflower Sparkle.  I scrunched up the seam binding and dried it with a heat gun that left it with just the right amount of interest in the ribbon.  Added the graduation cap and pronounced it ….. finished!

I’m loving it: hope you do too. 

Monday, June 27, 2011

Liberty Mini-Chipboard Album Reveal


 Well, it’s close enough to July that I can publish the next class I’ll be teaching at Paper Niche. It’s super cute and came together really quickly.

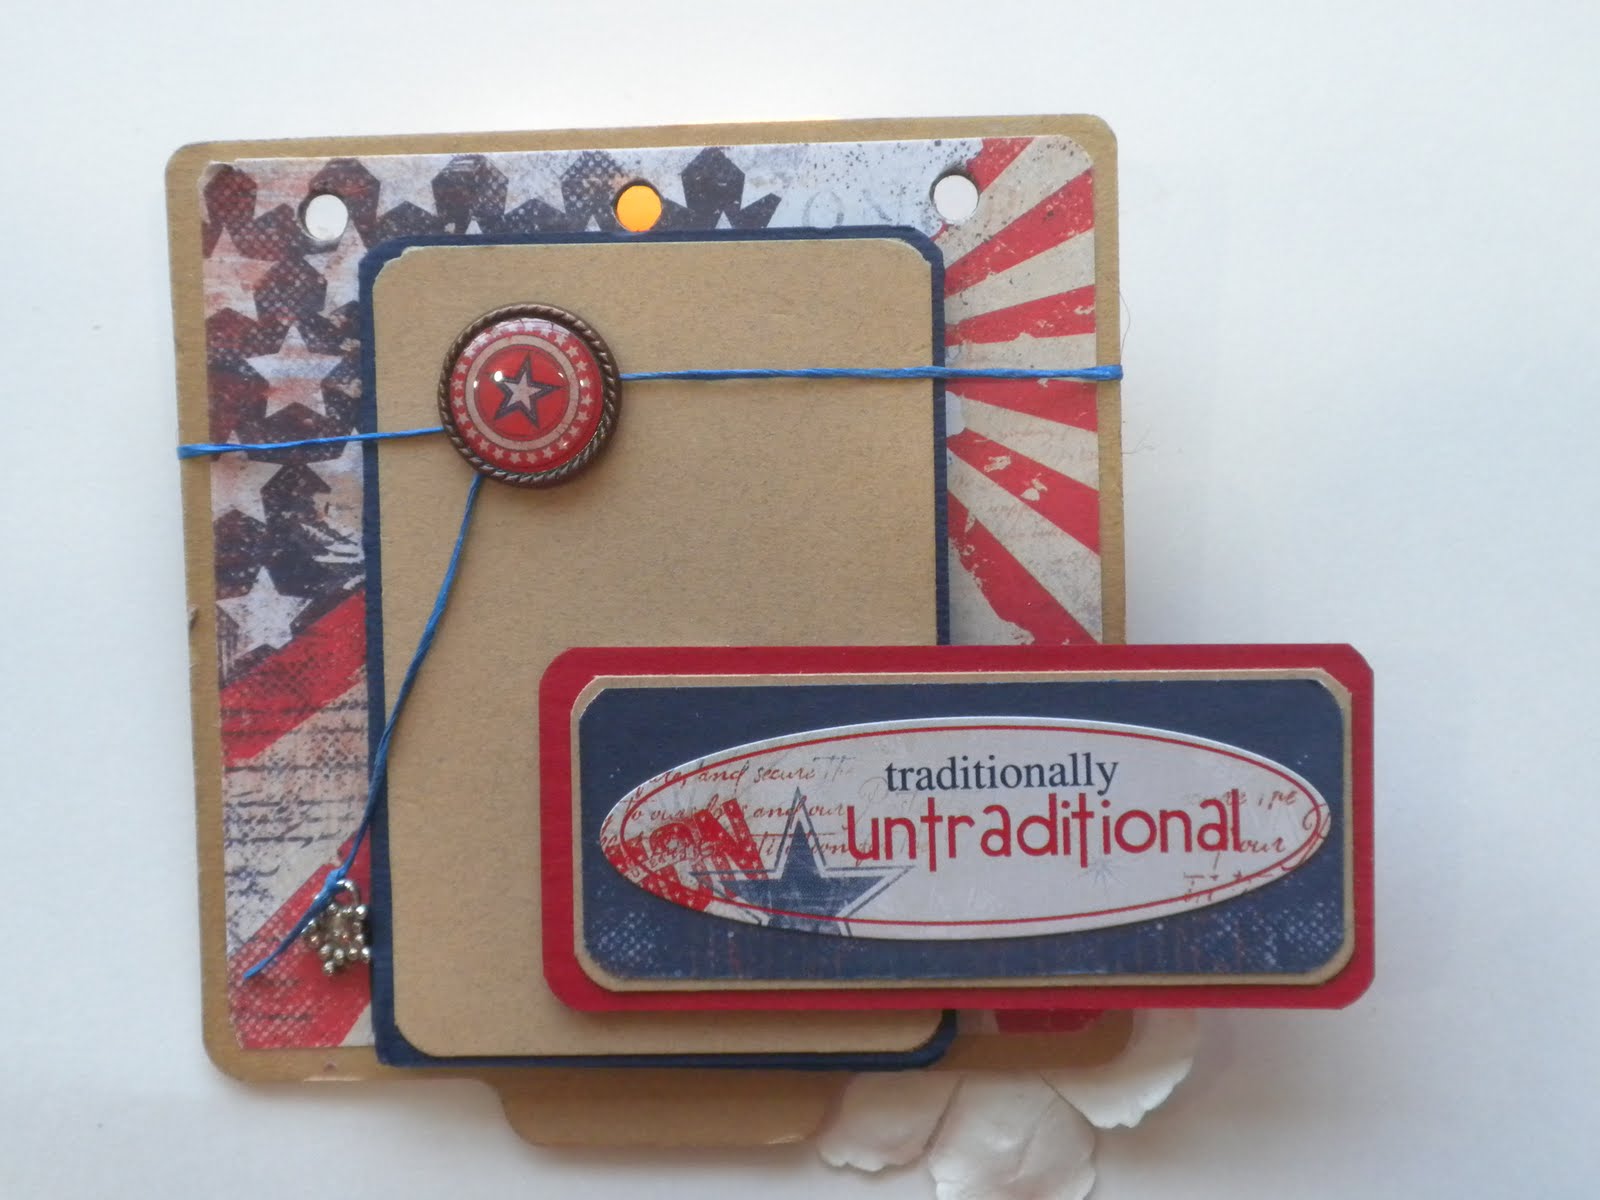
I started off with Maya Road’s Calendar Stand and transformed it into a photo celebration of Summer and Freedom.  Lots of BoBunny “Liberty” products here including their 6” paper pad, cardstock stickers and brads. In the class you’ll learn how to create a pocket envelope out of acrylic


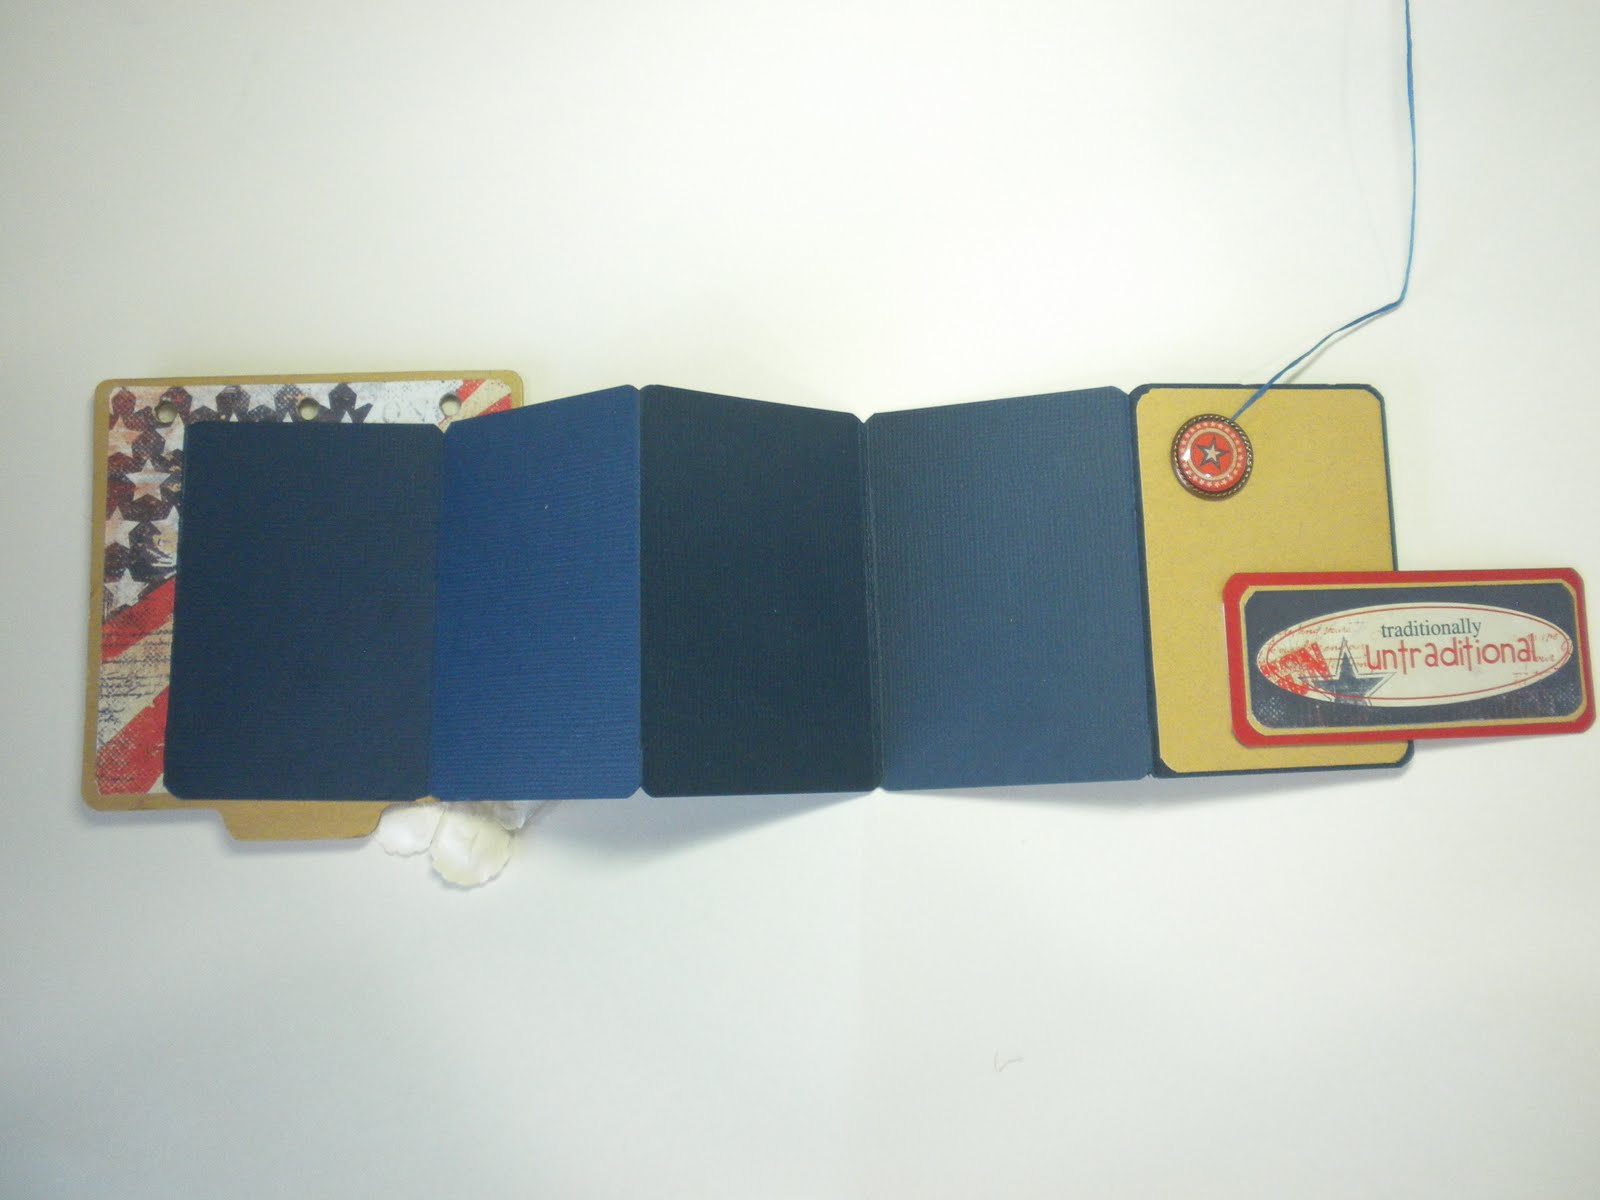
 and a foldout page that holds a surprising number of photos.
Foldout Page - sneaky huh?!

This is how the foldout page opens


The class is July 12 from 2-5pm. I’ll repeat the class in August for those of you lucky enough to be on vacation in July. You don’t want to miss this one, it’s fast, easy and packed with techniques I can’t wait to show you!

Check Paper Niche’s blog, the class should be up on the site some time this week.  See you there!