 |
| July 12 "All About Alcohol Ink" Class |
If you weren't able to join us last Saturday at Paper Niche for Summer Shorts, you missed a good class! But fear not, the series continues for July and we've got two dynamite classes planned. On Saturday, July 12 we'll be exploring Alcohol Inks. Here's the press release for this class:
All About Alcohol Ink
Come explore
all the surfaces that you can alter with Alcohol Ink. From glossy cardstock
through acrylic and metal, we’ll show you what you can do with this versatile
liquid.
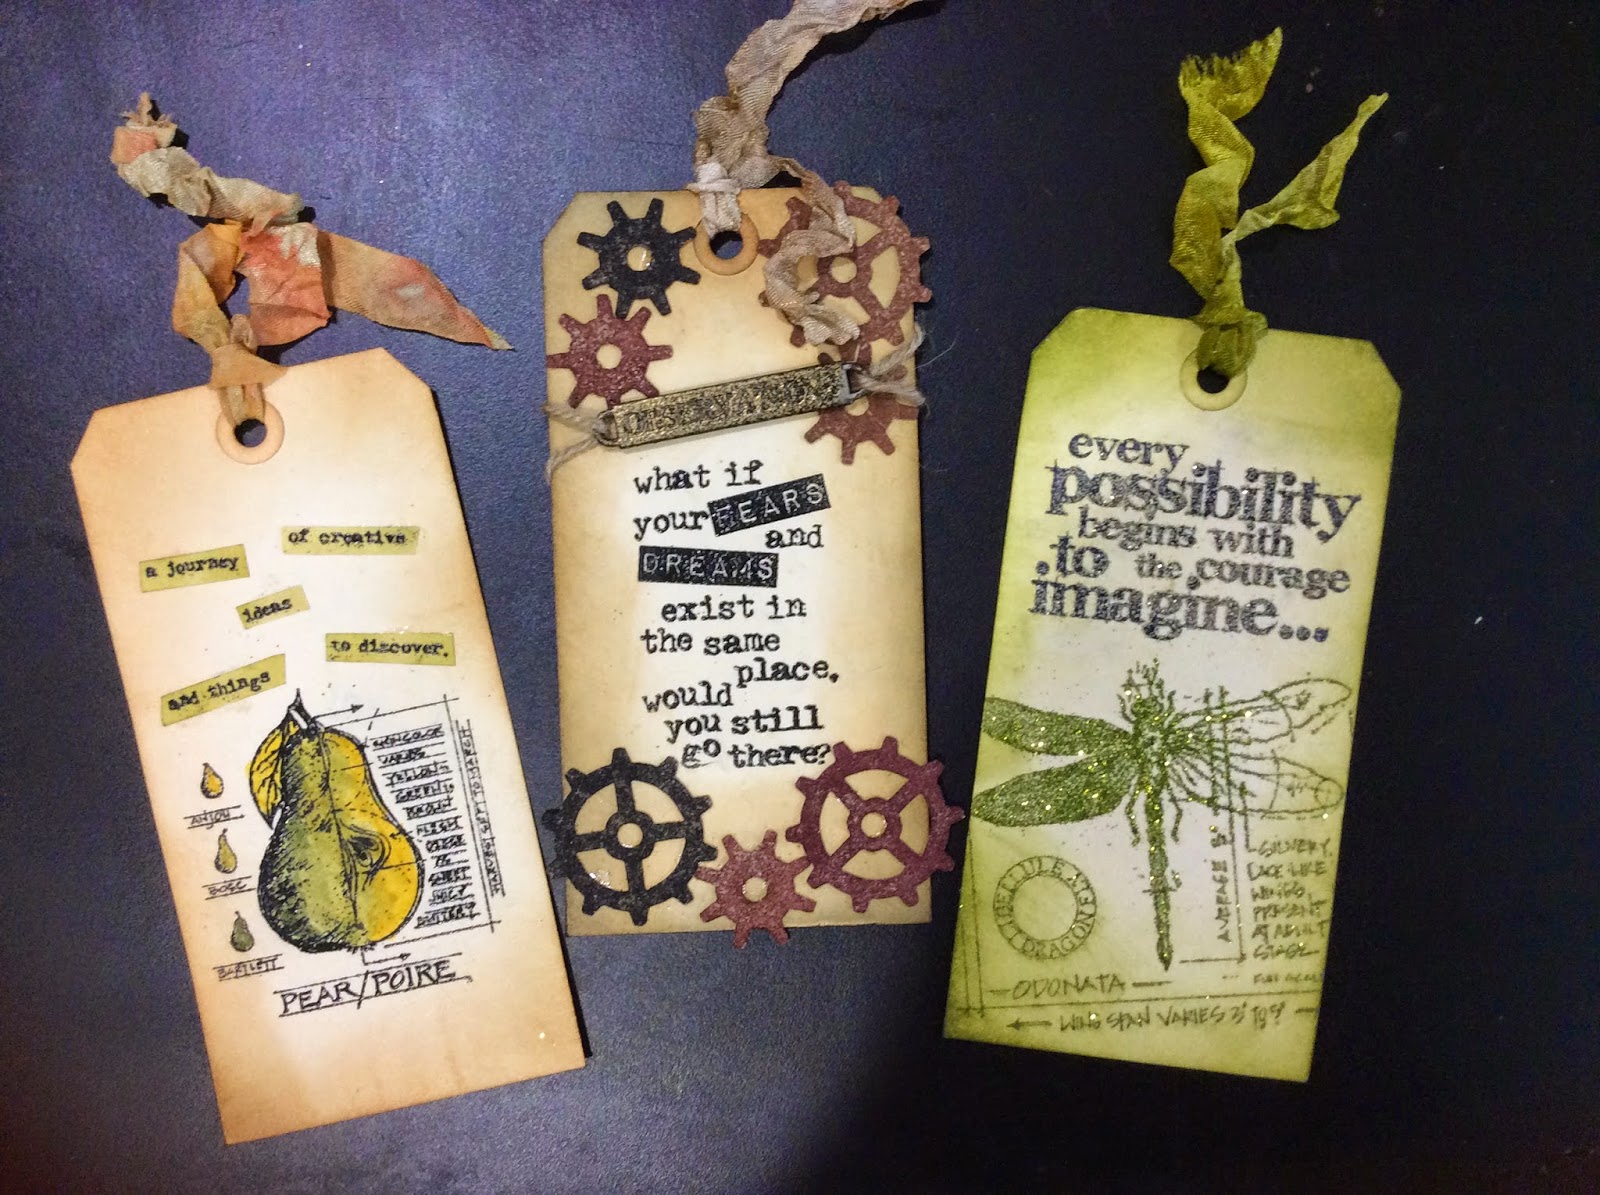
Tag #1
We’ll start by exploring alcohol ink on glossy cardstock and show you what your
can do with Fragment Charms.
Tag #2
Plain old acrylic gets gussied up with the addition of some alcohol inks and
Tim Holtz’s Movers and Shapers Die. This is a great technique to master for
customizing embellishments.
Tag #3
We’ll see how metal reacts with the addition of Alcohol Ink. Think of all the metal you can custom
color to compliment what you’re creating!
 |
| July 26 "Exploring Embossing Powders and Inks" class |
On Saturday, July 26 we'll move on and explore another kind of embossing. We'll be using embossing powders of all kinds and showing you how to emboss on metal and add glitter to your powder for an added effect. Here's the release for the Embossing Class:
Exploring Embossing Powders and Inks
This class is
all about the OTHER kind of embossing, one with ink and powder, not folders and
paper. We’ll take you from basic embossing to exotic techniques with metal and
glitter!
Tag # 1 We’ll
start out with a basic embossing technique using black embossing powder paired
with black ink. Coloring and
shading with Distress Markers and a water pen elevate this simple tag to
stunning.
Tag #2 We’ll build on your newfound expertise
in embossing by exploring different
surfaces and by using Distress Embossing powder. Cardboard? Sure! Metal?
You bet ya!
Tag #3
We’ll bring glitter into the mix by embossing with Sticky Embossing Powder and
two kinds of glitter. We’ll open
up a whole new world of embossing possibilities!


