Monday, June 27, 2011

Liberty Mini-Chipboard Album Reveal


 Well, it’s close enough to July that I can publish the next class I’ll be teaching at Paper Niche. It’s super cute and came together really quickly.

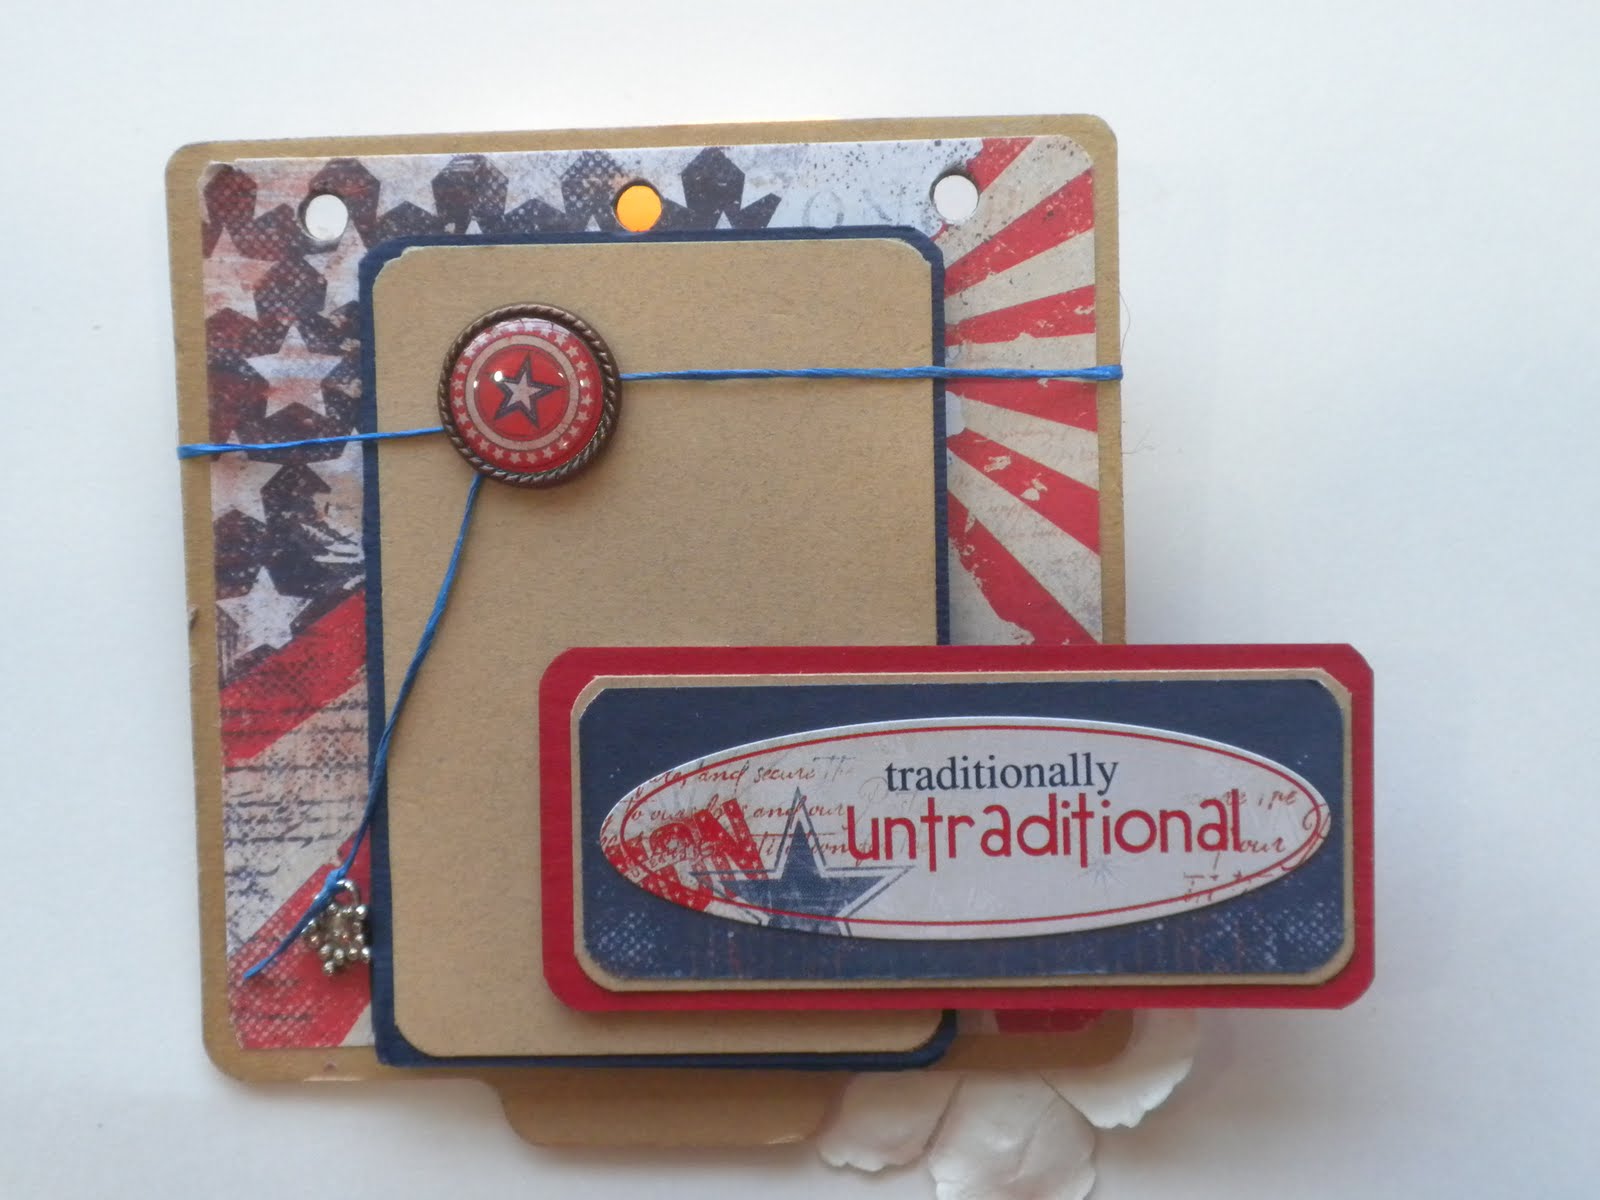
I started off with Maya Road’s Calendar Stand and transformed it into a photo celebration of Summer and Freedom.  Lots of BoBunny “Liberty” products here including their 6” paper pad, cardstock stickers and brads. In the class you’ll learn how to create a pocket envelope out of acrylic


 and a foldout page that holds a surprising number of photos.
Foldout Page - sneaky huh?!

This is how the foldout page opens


The class is July 12 from 2-5pm. I’ll repeat the class in August for those of you lucky enough to be on vacation in July. You don’t want to miss this one, it’s fast, easy and packed with techniques I can’t wait to show you!

Check Paper Niche’s blog, the class should be up on the site some time this week.  See you there!

Saturday, June 18, 2011

Riff on "Pretty"

So you know I’m all about learning new techniques and mastering ideas.  One of the “Make and Takes” at the Puerto Rico event was a mini-album made out of one sheet of card stock , coordinating paper and some embellishments.  I didn’t have time to do the “Make and Take”, but I bought the kit, took some pictures and came home and re-created it.  Mastered that, but I also wanted to take the concept and re-create it with different paper.  


I’ve had my eye on a line of paper called “Simple Stories” that I had seen at another convention.  Loved the colors, but couldn’t come up with a way to use it.  This project works perfectly and they had the paper line in Puerto Rico!  Here’s the result.  The album ties together, there’s room for journaling and wallet sized photos, and is small enough to take with you or to display on an office desk.  Had fun doing it, hope you enjoy the project!


Tuesday, June 14, 2011

Puerto Rico - The Iron Edition


Convention Center
from my hotel window!
Well, I’m back!  Spent the better part of yesterday (my birthday) in the airport in Puerto Rico waiting for our delayed flight.  Finally made it home - four hours late. I have to say that this was an experience I won’t soon forget.  There was so much dancing I was getting dizzy!  Puerto Ricans are the happiest people I’ve met in a long time. Had a ball and the most amazing part were the teachers we got to learn from.

T!m's Technique Canvas
Friday we had an all morning class with Tim Holtz.  In the afternoon it was Margie Romney-Aslett and then The Glitz Girls. Tim’s class was amazing.  He’s my favorite teacher because he teaches TECHNIQUE!  Love it that I can take what I learned from the class and apply it to what I want to make.  Here’s the piece we created. He’s got better pictures of it on his blog so you can also see it there.
Also Loved Margie's Penant Chipboard book that we created.  Lots of fun summer colors that I know I have pictures for!

The BEST part of the weekend, however, had to be Saturday night’s Scrapbook Challenge.  Tim, Margie, Donna and the Glitz Girls were all up on stage and they had overhead cameras so we could watch them work.
The Challenge begins!

Donna and the Glitz Girls
throwing down!

Margie's Team name was "I got Tim Holtz!  "
Each team was given lots of scrapbooks supplies and a “secret ingredient” to create a 12 x 12” canvas.  The “secret ingredient” was lots of colorful paper.  It was a blast watching both teams create against a background of Caribbean music and the further into the challenge the zanier it got.  First they stole supplies from each other. At one point, they were applying war paint!
Love the War Paint!

 There was lots of dancing as they created and a ton of picture taking. The challenge was declared a tie.  Was it?  You be the judge. Tim and Margie’s above, Donna and the Glitz Girls below.


Sunday both Heidi Swapp and Tim were on my schedule.  Heidi's class was very inventive and I'm planning on "scraplifting" some ideas I got and do a Halloween album with them.  In T!m's class we got to put together a journal using lots of distressing,  LOVED IT!


I have a TON of ideas I need to empty out of my brain.  I'm going into the studio to create.  The laundry can wait!


Thursday, June 9, 2011

Trade With Me!


Just a quick post before I leave for Puerto Rico and a weekend of scrapping.  I finished my flower sign. Can't wait to wear it and trade flowers.  

It was super easy.  I cut some scrapbook paper to printer size and printed the phrase on it.  Used wet glue to adhere it to chipboard and let it dry.  Cut it down to fit through my Big Shot and used T!m's Baroque die on it.  Cut another one out of plain chipboard. Cut some orange and yellow netting, folded it and heat gunned it to the chipboard, creating ruffles as I went.  Used the heat gun to fuse the two chipboard pieces together with the netting in the middle.  used the Big Bite to punch 2 holes and ran some funky trim through it to hang around my neck.  Hot glued one of the flowers I'm trading to the side of it.  Done!  

Tuesday, June 7, 2011

Fabric Flowers for Puerto Rico


Spent some time last night prepping for the flower swap at the Puerto Rico Scrapbook Event. All the flowers are done. I’m halfway through making the ”I Wanna Swap” sign for around my neck. That can’t be ordinary either!
I thought I’d show you a short tutorial on how I put them together.  Start by cutting out 2 inch circles from some satin and some glittery organza. Put an organza circle on top of the satin and folded it in half and then in quarters with the organza on the outside. This gives you a pie shaped piece. 


Then cut a very small section out of the tip of the pie shape and held it together with a bulldog clip.  Create 6 of these and then cut a 1inch circle out of cardboard for the base. 


Fire up your glue gun.  Put a small amount of glue on one quarter of the cardboard circle and attach the first piece. 

Follow with the next 3 pieces so that you’ve got the entire circle filled.


Put a small amount of glue in the center of the circle and attach the last to pieces on top of the first 4.


Finish it off with a gem or a button. I used a Bazzill Button.


I created 18 flowers, can’t wait to go swap them!

Monday, June 6, 2011

July Sneak Peek

Happy Monday!  This weekend was definitely a "Scrapbook" weekend.  Saturday I taught my "DREAM' class at Paper Niche and we had a ball! Class was small so I got to do a lot of interaction, my kind of class!  And my students took home stunning home decor pieces.

Sunday I spent the entire day (and into the evening!) creating my July class.  Once I got going, the ideas just kept coming.  You know when you have THAT kind of Mojo, you don't stop!  So the project that I thought would take me 3 days to complete is finished.  And I even did the supply list, tools list and detailed instructions. I'm so proud of myself!  I ran out of daylight or I would have had the photos done too! Here's the sneak on it. I'll do another post when I know when the class will be and I'll show you the completed project.


So now I have 3 days before I leave for the Puerto Rico Scrapbook Event - Iron Edition.  Can't wait!  Spent the morning printing out class schedules, supply lists and class descriptions.  They're also doing a Flower Swap, so I've been looking at ideas and trying to decide what flowers I'll be creating to take with me, cuz I am certainly participating in that baby!  So, I'm off to the studio to cut fabric and experiment!  Hope you get some crafty time in too.